Arrival – Multipurpose WordPress Theme
1.Introduction
Welcome and thank you for choosing Arrival, before customizing the theme we highly recommend you to go through this documentation this will help you to understand the basic setting and functionalities of the theme.
First, we recommend you to install Elementor Page builder. If you are already familiar with Elementor builder then you can easily create your stunning sites with Arrival. We have designed and given special options to the theme so that you can easily publish your any type of websites.
All the settings related to the theme are available through theme customizer ( Appearance >> Customize ).
2.Home Page(With Elementor)
Editing page with elementor is quite an easy task to create beautiful layouts. First make sure that you have installed and activated Ultra Companion this plugin will add some extra features to the theme.
Now just create any page and add its title, and choose page template “Elementor Full Width” and disable page breadcrumb from the page metabox.

Now you have created and saved your homepage and final step is to set display option for homepage.
Go to settings >> Reading
there you will see option to set homepage display option choose Homepage you created earlier.

3.Header Settings
Arrival comes with very useful and powerful header settings. You can customize header to every depth with colors of your choice. It also have custom header builder with Elementor.
Useful Resources
How to build header and footer with free version Elementor plugin ?
For the custom header please have a look on this article
For the default header please follow these steps:
Currently, the theme has “Top Header” and “Main Navigation”.
To Access Header Settings go to Appearance >> Customize >> Header Settings
Top Header
With the default option Enable or Disable top header as your need and design. Also customize the top header with social icons, menus and other informations.
Also, there is an option to change colors for the top header, you can change the colors as your design requirements.

Main Navigation
Choose a layout for main navigation eihter boxed or full. Also enable or disable scrolling menus, to configure the scrolling menus follow the following steps. You can also customize navigation with colors.

Configuring Scrolling Menus
- To Switch to scrolling menus first go to Appearance >> Customize >> Header Settings >> Main Navigation
- Enable One Page Menu

After completing the above steps you need to add CSS ID for all the sections of your home page.
You can do this easily with elementor, please see the image below for reference
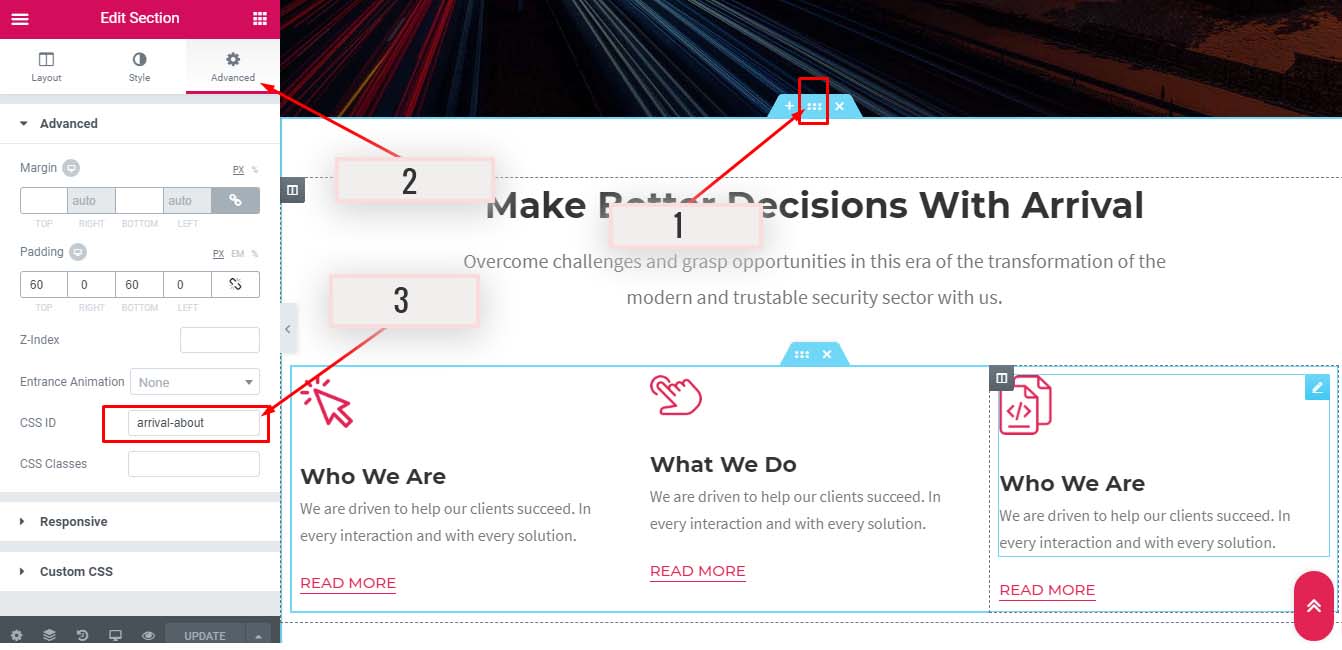
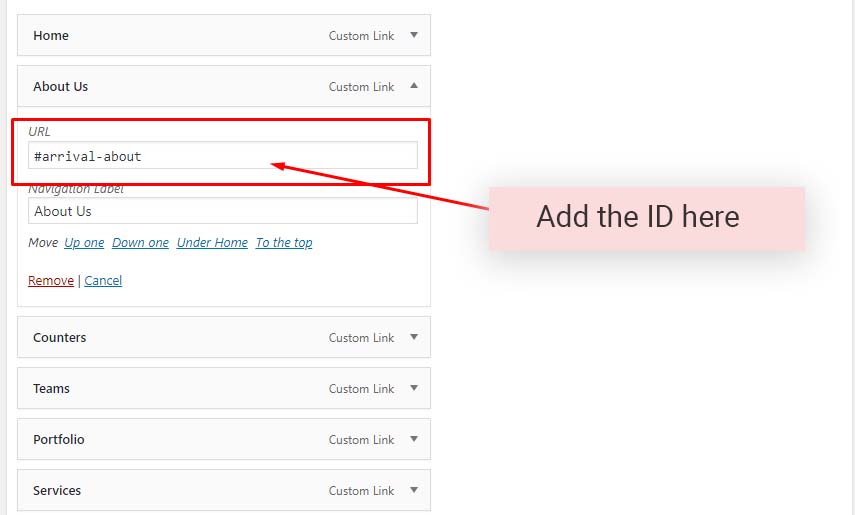
After completing the above step now you need to go to Appearance >> Menus and then you will have to create custom menus by adding the ID(created using Elementor above) to URL for the menus.
4.General Options
Here we have arranged all the general settings related to the theme.
General Styles
Theme Color
Choose any color for your website using color picker.
Background Options
Change your default background with Image or color
General Settings
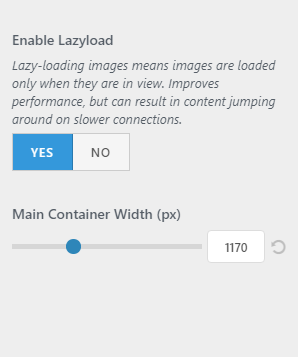
Lazy loading
Lazy-loading images mean images are loaded only when they are in view. Improves performance, but can result in content jumping around on slower connections.
The theme has the option for lazy loading images, just enable or disable as you need.
Container Width
With flexible option available you can change your site container width to any
5.Social Icons
The theme has the option to add unlimited social icons to your site. Just choose an icon for your social profile and add it’s related URL.
![]()
6.Footer Settings
With the footer settings you can easily customize your footer also don’t forget that you can create your own footer using footer builder. You can check below reference for the help
How to build header and footer with free version Elementor plugin ?
Add Shortcodes on Footer(Available on Pro Version)
You also can add shortcodes on the footer, the premium addon has inbuilt functions for adding dates & site titles.
How To add dates on the footer?
To add a date on footer you can directly add [arrival_date] this will automatically print the current year on your footer..
Alternatively, there is another shortcode [arrival_date year="2016"] which will display a range of year example if current year is 2020 it will display 2016-2020
How To Add Site Title ?
To display site title using short code just copy and paste [arrival_site_url] this will just add your site URL but will open on same tab.
To open it on next tab there is another code [arrival_site_url target="blank"]
7.Useful Videos
Configure Transparent Header For Inner Pages
8.F.A.Qs
Demo Import Failed
Please make sure that you have following PHP configuration on your hosting to import demo.
max_execution_time 900
memory_limit 256M
post_max_size 100M
upload_max_filesize 150M
max_input_vars 9000
If you have any issue with the theme please feel free to contact us via chat or email on support@wpoperation.com